Since the last post, I did tidy up the remaining bits and pieces of the chassis (predominately the brake lines) and mixed up the last of my paint and finished painting the underside of the tub, the fenders and a few other of my bits and pieces...and some small jeep parts in beautiful OD Lusterless. I resisted the urge to mount the tub (interpret that how you want to) onto the chassis since it will be easier to install the wire harness BEFORE that mating occurs.
So the next endeavor was to get the engine installed to the transmission and secured on the chassis. Before that happened, I got the flywheel and new clutch put into place. I'm not going to go into details because it is simply a matter of placing a dozen or so bolts in place. I will toot a horn and tell you how clever I was to use one of my T90 transmission main drive shafts to use as a centering tool for the clutch. However, I will not go into details about my stupidity in using a replacement bolt that was too short for the flywheel and how I had to hoist the engine back onto the stand and take the rear main seal apart, blah, blah, blah and put the correct flywheel bolt in place.
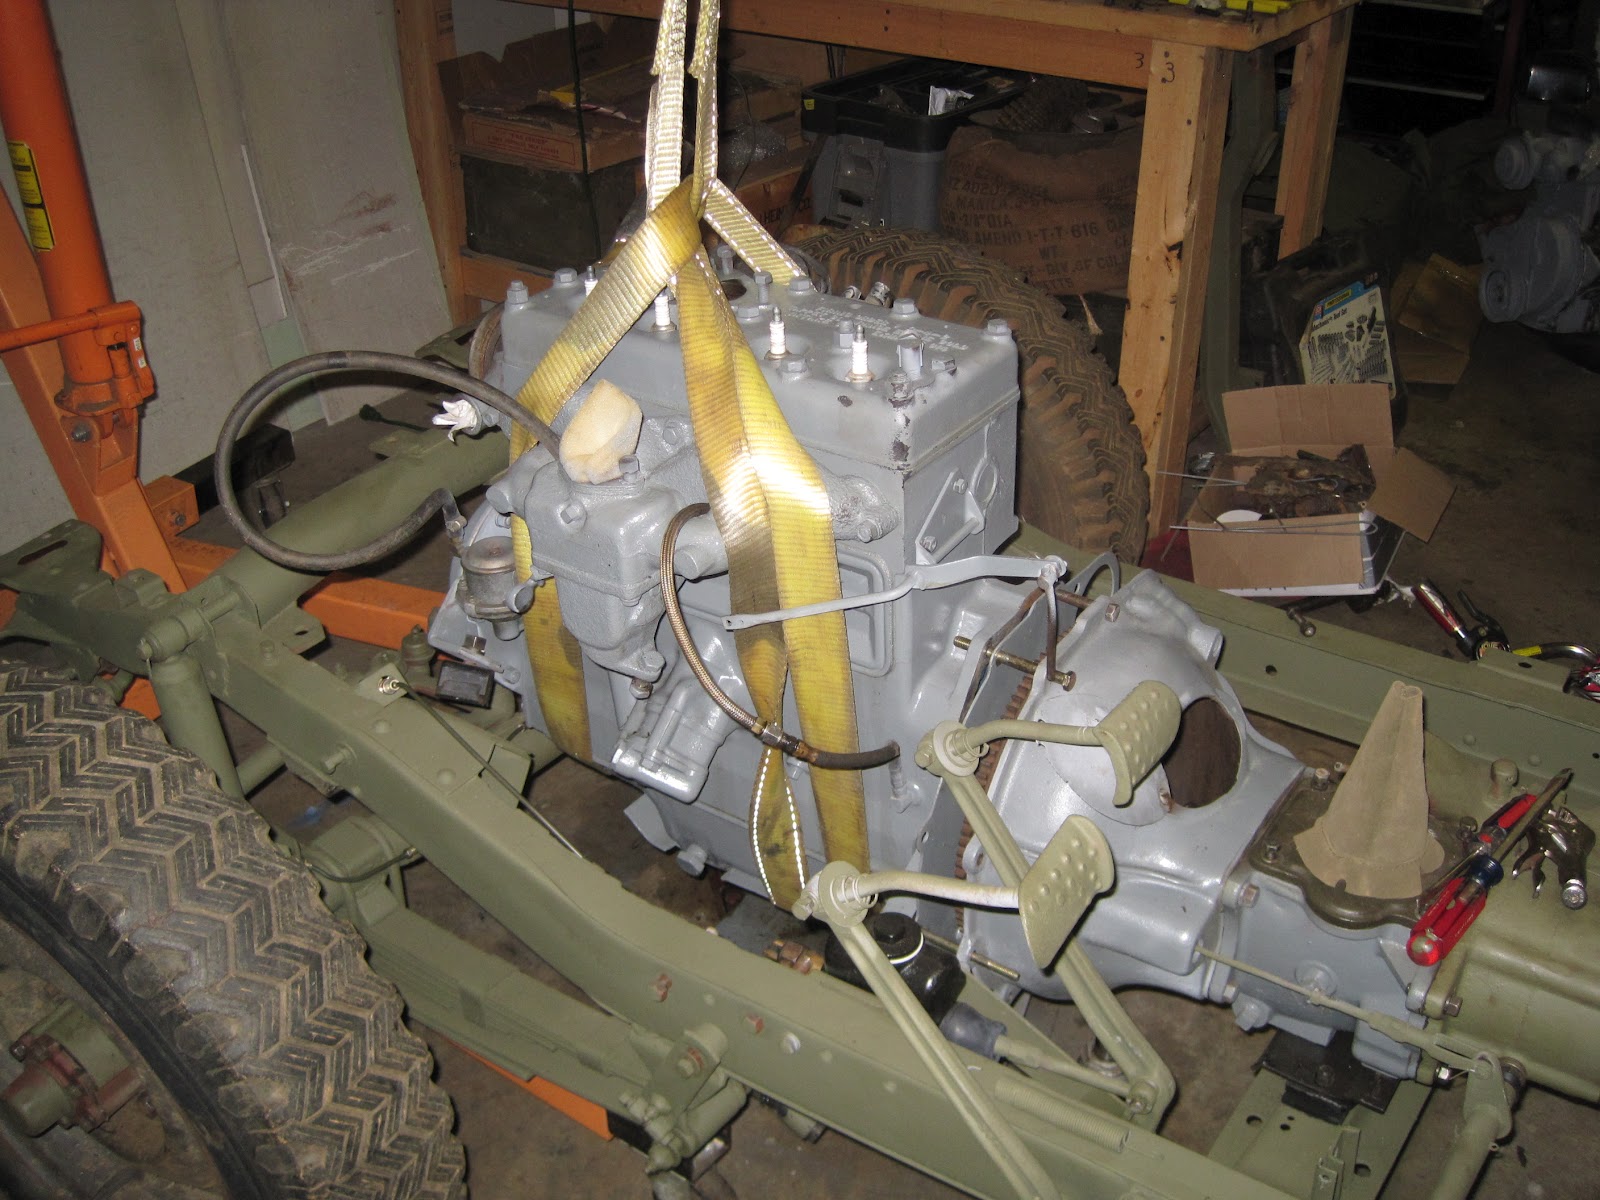
So, getting the engine into the chassis was a bit tougher and somewhat easier than expected. Let me explain. I got it up and somewhat in position with relative ease. However, the tricky part is getting the transmission main shaft to line up perfectly with the clutch grooves. I was close several times. Then, like clockwork, Jack showed up and asked what I was doing. I was in the midst of explaining and showing him the process when the engine clicked and slid into place, sealing the gap of the last inch of space. I always thing he is my lucky rabbit's foot, and he sometimes thinks that I actually know what the hell I am doing.
I then sorted out all of the bellhousing bolts as well as the two front engine mounts. I did not use any front engine mount shims, although when I get the radiator in place I am expecting that a pair will be needed to raise the engine a tad. No, I don't know anything more than you. It is just a Magnum, PI sort of hunch.
 |
| I opted to put the bellhousing and clutch fork in place first. I could've attached this to the engine and lowered it all in, though. My reasoning for not doing it was because of the clutch fork. When the bellhousing is attached to the engine, the clutch fork must then be put in place by utilizing the small inspection cover on top of the bellhousing. There is zero visibility, scraped knuckles and a lot of sailor swearing involved in that process. |
 |
| Coming in on final approach. |
 |
| Close. Very close. At this point, my pucker factor has decreased tremendously. |
 |
| OK, so I lied about the 1" gap. It looks like it is about 2". Nonetheless, she isn't going in place at this point. |
 |
| Boo-Yow. Jack shows up and ta-da...all is right. |
 |
| Inspector General inspecting like a Modern Major General. |
 |
Just need to screw the bolts down in the front mounts.
(black rubber block located at the front, left and right bottom of the engine.) |
 |
| Here is a good shot of removing the engine back in December '11. This is the postwar CJ/M38 engine. |
 |
The engine mounting was performed in the secrecy of the garage Friday night.
Saturday morning I pushed the chassis with drive train (nice, huh?) into the driveway. |
 |
From the front. Despite what my neighbor thinks, I believe this accomplishment
gets back some of the alleged strikes against my "man-card." |
 |
Not quite sure what I was focusing on, but here is my best attempt at the same angle "before" shot.
It has come quite a ways... |
Afterwards, I thought I would do a bit of cleaning and rearranging the garage. I figured a major portion of the restoration has been completed and it was time to better organize myself. First off, I needed to switch both jeeps around. They needed to get back into their respective bays. I pushed them both into the driveway and then decided to better organize my spare parts. I unloaded them all from their boxes and laid them across my garage. I then took my technical manual and reorganized/reclassified them into boxes designated to each respective group...i.e....Group 1: Engine; Group 2: Clutch; Group 3: Exhaust all the way down the line to Group 26: Radio Suppression. Yes, it was a HUGE mess, but in the end, it was worth it. Two or three times I have purchased parts that I already owned. That is a bit irritating. This way, when working on a certain component, I can clearly see what inventory I already possess before going shopping.
 |
| The BIG MESS prior to organizing. |
At this point, I am "accessorizing" the engine with pretty jewelry...the generator (that I rebuilt way back when) and the starter will get mounted. Also planned is to clean up the oil filter and brackets and to rebuild the carburetor. All of these items need to be installed before toying with the thought of making it go vroooom.


Looking good my brother! How hard is that clutch plate assy to replace? I have to do mine soon... as well as all those damn rubber mounting pads on the trans and engine...
ReplyDeleteWayne