Friday, August 17, 2012

The Boys in the Hood

The last few days were spent working on the hood.  I actually started it the same day I finished the air filter, but I elected not to talk about it since there really wasn't much to talk about.

Originally, I had pleasant thoughts and dreams of slowly and deliberately sanding down layer after layer of paint on the hood in order to carefully find and, perhaps, preserve the original hood numbers.  When I dug the hood out of storage, those hopes and dreams were quickly shattered when I discovered that the entire outside of the hood was pretty much a nice light dusting of surface rust.  There was barely a lick of paint to grind off.  I wonder where it all went?  Oh, well.  Perhaps next time I can preserve some hood numbers because, unfortunately, these numbers are long gone.  I will be able to get a decent estimate on what the hood number is, but in the end, it is most likely lost to history.

The first day of work went rather quickly since there really wasn't any paint to grind through.  I used the hand grinder with a wire brush and cleaned it to recognizable metal.  I then coated it with rust preventative chemicals and let it sit for a few days while I worked on the inside areas.
This is the "before" picture.  The large white spots would be a fairly thick layer of bondo.  
Hmmm, wonder what is hidden below it?

"After" the wire wheel.  All in all, it was in very decent shape. 
I found one hole smaller than a dime near the top right corner.
 The bondo just hid depressions in the hood where it was dented.
 A hammer, a steel block, and a plumber's wrench corrected those areas!

This is the underside before any work was done.
Since I could not find any of the original hood numbers, I decided to try my hand at just removing one layer of paint to see how much of the original paint could be preserved on the underside of the hood.  Original is only original once, right?  I guess I had it in my mind that I was going to do some sort of detailed work, so this was my last opportunity. 

I went with a "wet sanding" technique.  I used a medium grade sandpaper and would wet the surface with a paper towel and gently rub away the red paint.  During the process, I would continually wipe away the paint residue and apply more water.  Unfortunately, there were wide surfaces areas that lacked any paint at all.
The left side has been done and the upper portion of the right side.

This is the somewhat cleaned and finished product. 
I may go over some other areas with a fine piece of sand paper later.
In the end, I discovered something new about the hood and possibly the vehicle.  For starters, I thought it weird that I could  not find any of the holes for the windshield blocks.  By the time I cleaned everything, I found where they had been welded shut.  What a relief.  I temporarily began to doubt that this was a military hood.

The other interesting thing to note is that this hood might possibly have belonged to a USMC vehicle.  When I removed the Lube Chart envelope, I found original paint beneath it.  It appeared to be the late war, dark semi-gloss...maybe.  However, below the top layer of red paint, I found in some areas a darker green, perhaps that of the Marine Corps, and it was across the black tar substance that the Marines are notoriously known for spreading across the undersides of their vehicle.  Interesting (to me).  Especially since I did not uncover any of that tar anywhere else on this jeep.  So, this hood may not necessarily be original to this vehicle.

I'm sitting on the fence with this original paint.  I know it does not look great, but some of the lighter green does match the newly painted OD on this vehicle.   But like I said before, its only original once, and once I remove it, it will never be again.  So, I figure I can keep it like this for now and if I ever grow tired of looking at it, I can then remove and repaint.  Until then, it is just a great reminder of this vehicle's history.

As for the small hole repair, I had a tiny scrap of steel already cut.  I just traced it on top of the hole and then carved out the hole so it would fit.  It was welded in place, the seams were ground down and then a coat of primer paint was applied.  It will be some time before it gets to look OD.  I figure I will do the windshield, seats and whatever other pieces all at once.
The hole!  Horrors!!

The replacement before welding.  Oh, joy!

Primed and soon to be installed.

A close-up of the area that had the hole.  I've done worse! 
I do notice I have some runny paint.  Punch list.
I still haven't found my 1/16" piece of steel tube so I can attempt my temperature gauge repair.  Since that fix is a no-go, I'm leaning towards doing the outer windshield frame clean-up this weekend.  That way I can mount the hood and have a place to lean it while I'm repairing whatever the heck it is that I forgot to do in the engine compartment!  That, my friends, is using my brain...kind of.  Thanks for reading.

Tuesday, August 14, 2012

Enjoying That Fresh Air (filter)

This is just a "quickie" I did today.  I bounced out of bed and got quasi-dirty this morning prior to go to work.   I was looking for that simple job and the oil bath air filter fit the bill.

This thing appears to not have had as hard of a life as some of the other parts on this jeep.  Disassembling it was a  breeze...downright enjoyable.

Bottom (left), inside filter (center) and upper canister (right).
 The smaller bottom bowl holds the oil.  The filter sucks air in through the vents and "filters" it through the oil and then through the filter before sending it to the carburetor.  The insides were quite clean.  I wish the oil that came out of the engine had looked as nice as what was in the bowl.

I used a liberal amount of carb cleaner to flush out the wire mesh that sits inside of the actual filter and then used pressurized air to blow it thoroughly out hoping that any small particles of debris would be flushed away.

I then used the wire wheel on the bench grinder and a plain old wooden handled wire brush to scrub the paint away.  Fortunately, this piece of the jeep did not have a coat of primer beneath the black paint.  I am not sure why, but that was the way of the world with the air filters during WWII.

Wire wheeled and wire brushed until I found bare metal.

This is where I deviated away from historical accuracy.  I coated it with primer. 
At least it is gray so if the exterior paint were to chip away, it might appear as metal beneath it.

First coat of Satin Black finish. 
It is killing me to mount it in the engine compartment.  Typical me, I jumped the gun and filled the bottom bowl with oil.  However, I do not want to install it until I get my temperature gauge sorted.  The air filter might make it a little harder to work in the small space to route and install the temperature gauge line.  Of course I say that tonight.  I'm sure tomorrow I will toss this logic in the garbage and mount the air filter in the jeep...to justify clearing off my work bench so I can make a new mess!

Monday, August 13, 2012

The Lights at the End of the Tunnel

I couldn't help myself.  I tried to sit back and admire the jeep, especially viewing it from how it looked when I dragged it home in September 2011 to its current rejuvenated appearance.  Yes, it does look so much better, even healthier.  However, it just looks plain silly without the headlights in place!  I'm sure you can clearly see where this is going...

I took them both apart, cleaned them up and then gave them a coat of primer yesterday.  The passenger side bracket had a braze repair sometime in its past and I just left it "as-is."  It is fine, maybe a little lumpy, but mechanically sound.  The driver's side bracket had a crack that traveled midway through it, so that needed to be welded.  From what I have seen in the past, this was a common location in the headlight brackets for cracks to appear.

Here is the story in pictures:

The pair of sealed beam headlights patiently waiting.

Step One:  Remove screw on retaining bracket and the light pops out.

Step Two:  Disconnect sealed beam bulb.

Step Three:  Remove the nut on the hinged bracket. 
This proved to be the most difficult step due to its stubbornness on both lights.

Step Four:  Remove bucket from hinged bracket and pull the wiring harness out.

Step Five:  CLEAN!

This is the large crack on the driver's side hinged bracket.

Not too bad.  It should clean up just fine.

Scar has been ground down.


Primed.


Painted. This was the second hardest part of the operation.  I am down to one can of OLD paint and it likes to fight me to the bitter end!  It prefers to spray paint all over me and drip out of the spout (when it decides to let its precious paint out of the can).  The only saving grace to the operation was that I found a new nozzle and it seemed to work decently AFTER the paint dripped out at the nozzle's base for a few moments.  No worries because I outsmarted it...I had on my latex gloves! HA.

This gratuitous shot was taken with Nette in mind. 
This is a test, Nette, to see if you are still reading this! 
Jack is tightening the bolts that secure the headlight brackets to the grill.
I think the bunker makes it look like it is frowning. 
Maybe it will be happier when I install the air filter and clean the hood.

Interior shot of the everything, but mainly I was showing the routing of the headlight wires.

Here is where they all come together and tie into the line that runs to the 6-post junction on the firewall.
All in all, I think this project turned out satisfactory.  I have two qualms with it and if you want to know them, then continue reading. 

Issue #1  The light bulbs are 12 volts, but the jeep is 6  volts.  This means blackout condition driving.  No big deal, I will eventually change the lights out for the correct 6 volt bulbs.  I just want them in for now to make it look nicer.

Issue #2  Although I have reproduction/replacement wiring, I reused the original headlight and blackout light wires.  I inspected them and they were in fairly good shape, especially the blackout marker light wires.  The part of them all that was bad and disintegrating when touched was the outer protective sheaths.  I removed them and put new sheaths around the wires.  The part that I have the issue with is the line running from the passenger side headlight.  Due to the long length, I just couldn't snake both original black and red wires through the sheath.  I ended up running two sheaths from that headlight across the grill.  If I'm to use the original wires, it is probably safer this way, anyhow.  I do take solace in the fact that you really can't notice that I doubled up in the pictures!

I think my next projects will be the hood and possibly the windshield.  Or the air filter and speedometer.  Or perhaps I'll clean up some seats so I can sit and read this blog.  Or maybe I'll get cracking on the gas tank.  Or I'll run the wires for the rear tail lights.  Or I should go help Buzzsaw with his jeep.  He has tracked down four highly coveted (by me!) tacks so I can install the last two pieces of grill welting and it just so happens, I can use 'em!

Sunday, August 12, 2012

What's Cooking on the Grill?

Yesterday's goal was to get the passenger fender and grill installed and, if successful, I had a few other bolt-on parts that were ready to be secured into place.

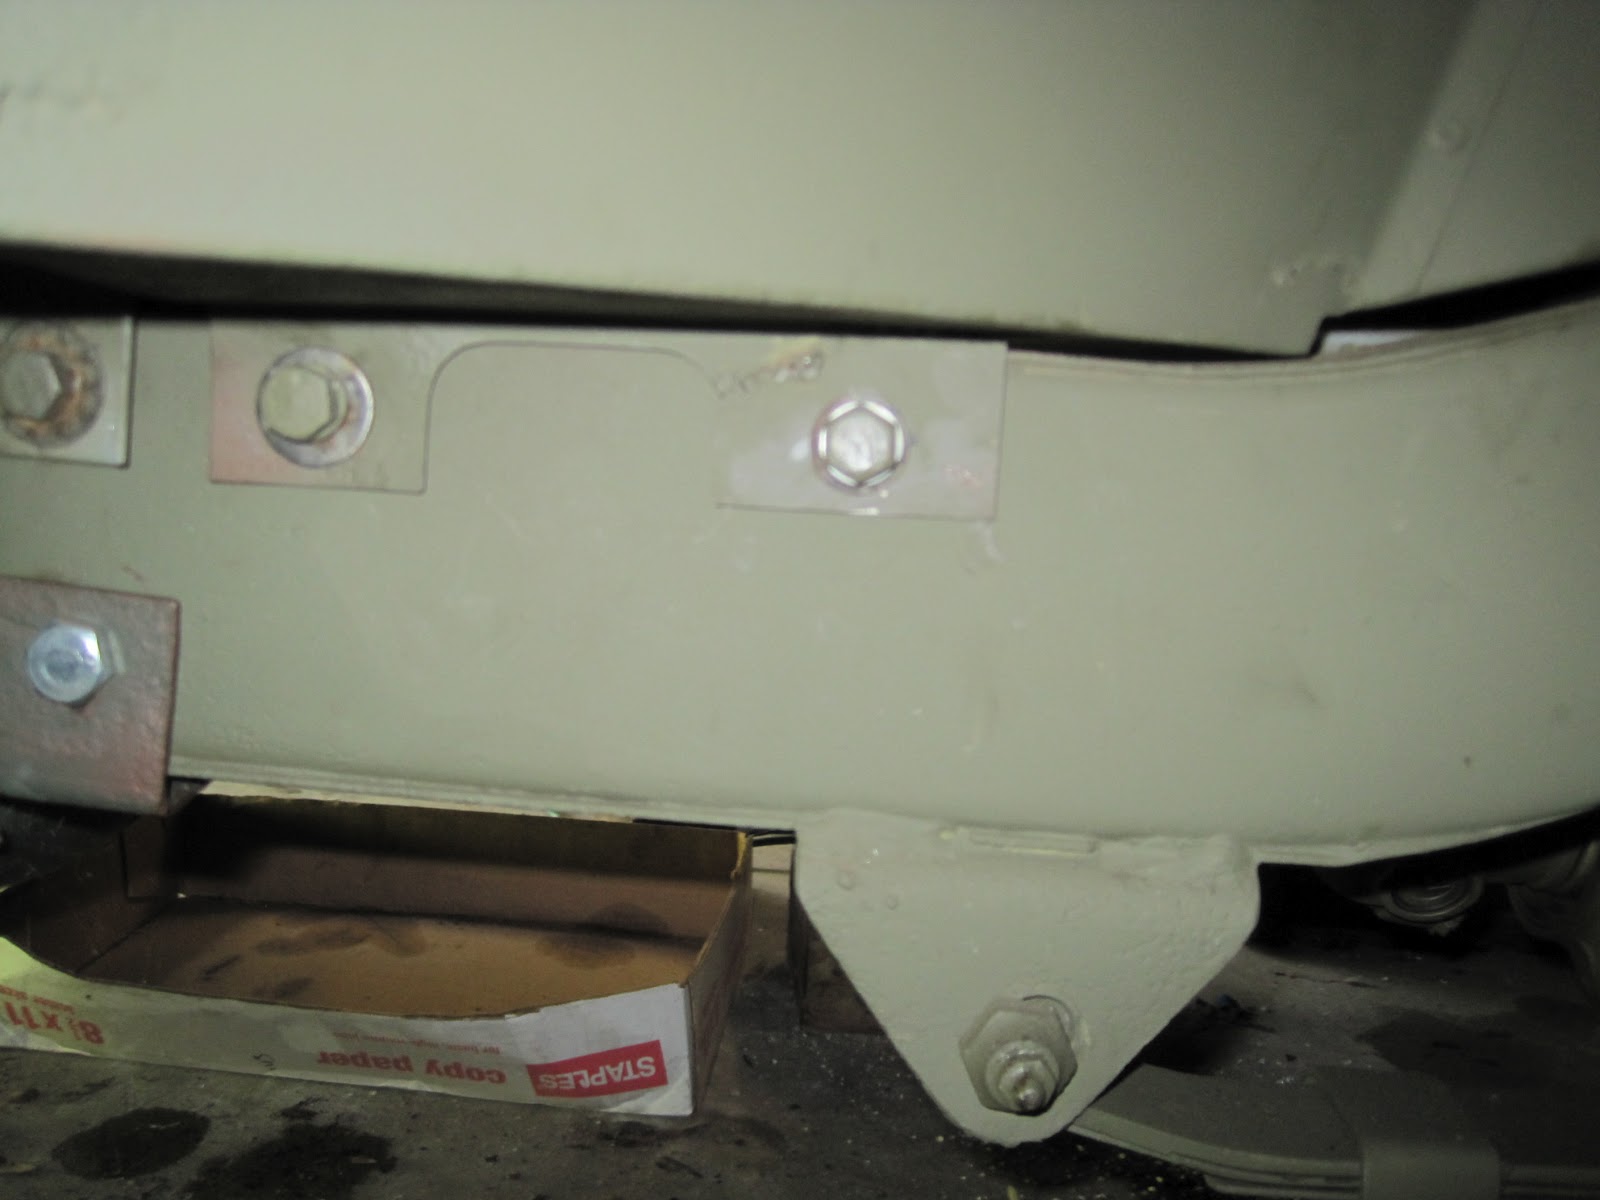
Again, with the passenger fender, I had to make and weld a new bottom mounting pad.  This was done a long time ago, but I didn't drill the bolt hole because I wanted to wait for it to be mounted to the frame so I could drill the hole in the correct spot...just in case my measurements were a tad off.

To make my super precise, scientific measurements for the soon-to-be hole's location, I used painter's tape and criss-crossed it against the horizontal and vertical diameters.  Then I secured the fender in place and drew an "X" to mark the spot where the center of the hole should be.  Not quite perfect but the method did work.

I now could drill the hole.

X marks the spot.  Dig here.

Mounted!

Fenders on!  At this point, it gets a bit easier figuring out what the next step should be.

Subject's profile.
Phase I, COMPLETED.

Next step:  The grill.  I had some help on this one with Buzzsaw Jeff.  Several months ago, I had cleaned, repaired and repainted the grill.  Today, I needed to break out the old radiator felt strips and screw them in place.  Jeff helped me line up the nine different bolt holes and secure the grill between the fenders in place.  However, me being me, and not having the ability to exercise patience, I opted not to install my anti-squeak pads between the grill and the fenders since they were in the attic and the attic access was buried behind a mountain of tile that I probably should've been laying in the bathroom rather than "tinkering" in the garage.
This is the point where I realized that it is easier to install the black out lights BEFORE installing the grill.
After Buzzsaw took off, my mind started to stew over the lack of anti-squeak strips and then I realized how much easier it would have been to install the black-out driving lights when the grill was detached from the jeep.  This is because the wiring travels across the inside, bottom section of the grill and gets clipped into place at a few different points...and my joints don't bend sufficiently to reach these clips, nor do I have a neck that can bend to see in there!  So, an hour before dinner, I undid the grill, found my lights and put them in place and then moved the tile to get to my anti-squeak material (which, incidently I'm using roofing paper that shingles sit on).
Black out wiring secured in place.

The iconic jeep symbol is now in place!  Please look past the temporary bumper.

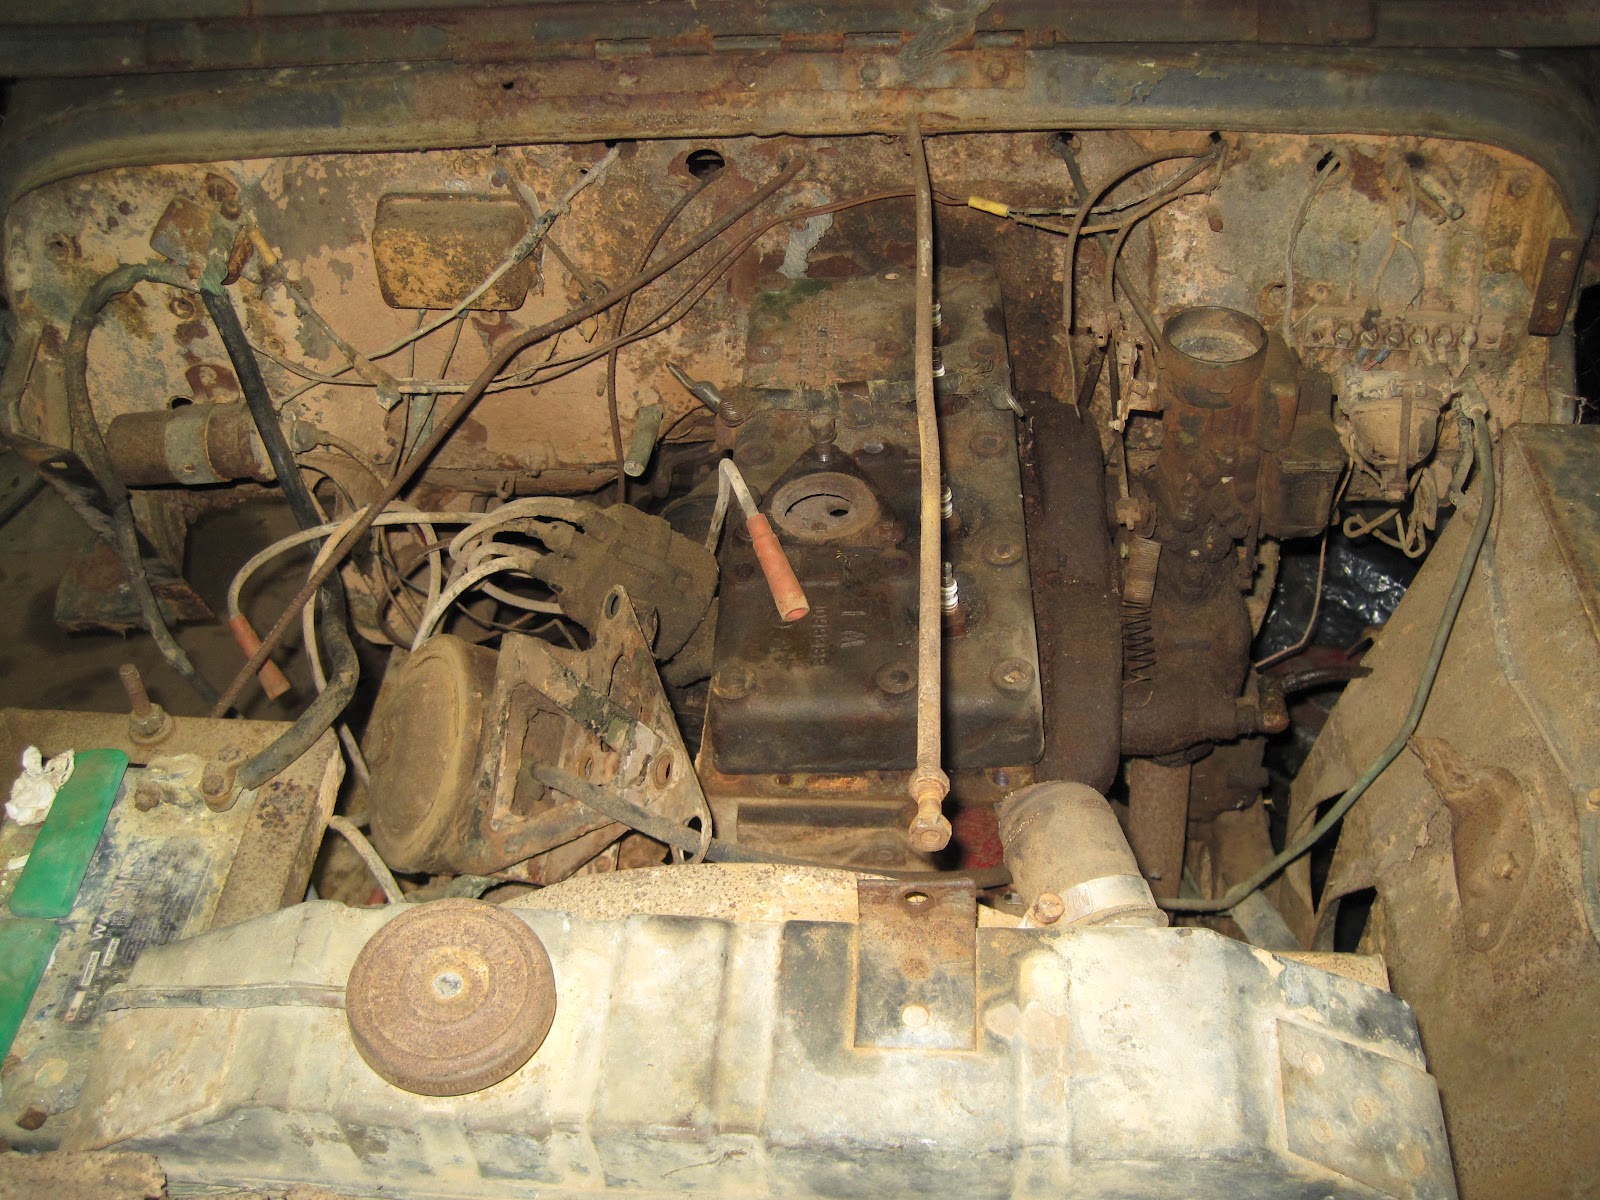
This was what it looked like the day I brought it home.

As for the other "bolt-on" parts that were ready to go, I did clean up that nasty fuel filter, air filter brackets and the voltage regulator.  Unfortunately, I haven't cleaned the housings for the headlights, yet.

Check out the inside of that bowl!  What a difference from the last blog post.

For now, I am going with what is left of the original paint.

Getting closer!  Note the long, white straightened coat hangar protruding out the driver's side. 
That is attached to the end of the black out light wire.  I needed it to pull the wire through the protective sheath.

Here is a "throw back" picture for you.  Label this BEFORE.
I don't know why, but in my head getting that grill on the jeep was a paramount achievement.  Afterall, that is the look that defines a jeep, right?!

Wednesday, August 8, 2012

CHOKE(ing) on the Wiring and Two Notes on the Fuel Filter

So I FINALLY got the darn "CHOKE" lever to work.  I thought I had fixed it previously, but when I installed it, I quickly realized how wrong I was!  The choke lever consists of a knob that sticks out of the dash.  A long, thin wire runs through the dash, out the firewall and connects to butterfly valve that controls the amount of air that enters into the carburetor.  A second tube-like wire is wrapped around the thin wire to protect it.  It should act like a coat hangar that is run through a garden hose and the hose is in a stabilized position:  the coat hangar moves freely through the hose.  Well, my choke cable was somehow stuck to the outer protective tube and the entire tube moved when the lever was pulled.  Hell, everything moved EXCEPT the butterfly valve!

I ended up using the combination of heat and penetrating oil followed by some gentle tapping with a hammer along the length of the tube, which was then followed up with using my hands to gently flex the tube and wire until I could feel it moving inside the protective tube.  Yes, I massaged the heck out of that fellow!  And now it works.

I then moved along and installed the Blackout Light Switch, the Push-Pull Switch, and the Ignition Switch.  I also went ahead and adjusted the oil gauge and squared him up.  For some reason that one was really bugging me.  I also bolted in place the Master Cylinder inspection cover (circular plate below the steering column in the picture below) and the transmission cover.
Things are just falling into place now!
With all of those loose ends shored up and it only being 2:00AM in the morning (yep, I was obviously in a giddy mood), I was looking for something else to tinker with that didn't involve the grinder.  I started rummaging through some parts boxes and found my air cleaner brackets, but they need to be cleaned and painted prior to installing, so that was a no-go. 

At this point, the fuel filter that has been sitting on my work bench for who knows how many weeks (5 or 6?) caught my eye.  I'd like to thank Jeff for showing me the innards of his fuel filter last week.  He has now, unprecedentedly contributed to a jeep repair, now.  Although I have studied the manual diagrams, I have never actually seen the original insides of the filter and how exactly they fit together.  Now my brain finally processed the information and I thought of a somewhat logical plan.  However, I was a bit reluctant to implement it out of fear of bending or breaking the delicate brass filter. In the end, it worked...but I have also been soaking the life out of it for 5 weeks with penetrating oil!

The pictures below are "recreated"; the actually event happened really fast and I didn't have my camera at the ready!  Like my children's favorite Animaniacs song (You got me.  I confess, its mine.), Wakkos Two Note Song, "Its just a squeezy on the pulley."  The puller actually worked!
All I did was attach my small puller to the base of the internal filter.  I used an old, broken nut to sit at the top of the bolt shaft for the puller to push against.  I was amazed at how easily the filter slid upwards.  I couldn't move it with my hands.

All that was in there was the brass filter, a spring (which was almost immovable until a good rubbing with steal wool got the crud off the shaft) and then lots of old, nasty fuel residue/varnish that needs to be thoroughly cleaned.
Next time you see this delight, it should be clean!  I'm leaning towards not painting it since it looks like there is still a lot of original OD on the exterior.  That will depend on how well I can clean it, though.

Tuesday, August 7, 2012

An Electrical Storm!

I really do not know why, but for whatever reason, I haven't been able to accomplish a whole lot on the Rustbucket Resto lately.  Whenever the opportunity arises, I have been slowly plodding along getting the wiring harness installed.

Alhough the jeep is fairly basic in design, there still is quite the maze of wires that criss-cross back and forth behind the dash board.  I'm sure that I will discover that I have gotten something backwards, and hopefully the result isn't a fire!  That reason in itself is probably part of the answer to why I have been slowly plodding along...lots of checking, rechecking and double checking before and after installing!

The directions:  follow this color-coded diagram and find the pot-o-gold at the end of the rainbow.

All roads seem to lead to the push-pull light switch (hanging to the left of the steering column). 
And note that the Fuel and Amp gauge are boldly in place. 
Yes, that is the wrong foot pedal!

The one fun repair I got to make was inside the Blackout Light switch. 
The problem:  the lever would not pull out and engage the connection.

Internally, the gauge is very similiar in design (except smaller) to the push-pull light switch.

The fix:  soaked it briefly with penetrating oil.
 It was then placed in a vice and then gently tapped with a hammer to loosen it.

Light switch assembled and then checked for continuity.  This is the off (closed) position.

This would be the on (open) position and if the light was hooked up, it would be on!
All foot pedals installed and most of the wiring is completed under the dash.  I just have yet to get around to screwing all of the knobs and such in place.  Three of the five gauges are in, but my oil gauge is crooked (lower, left).
 Add that to the punch list.  Don't fret about the different greens not matching.  I have plans to go back over over everything with another coat of paint once it is all together.
The other items that have been done (and completed very slowly!) were drilling out a couple of broken bolts that were inadvertently left in the tub.  It would have been easier to drill them out BEFORE I slapped the tub on the frame, but I was so excited to get the two together that I had forgotten about them.  Once drilled out, I could then get all of the bolts (14,  I think) in place to mount the tub to the frame.

Next up, I have one gas line ready to install.  This is the one that will travel behind the generator and across the front of the engine.  I am jonesing to get the grill and fenders mounted, but I do need to remember to do a few items (like that gas line!) before mounting.  By golly, it is easier if you do everything in a specific order!


And lastly, I have been battling the choke and throttle cables for three or four days now.  I finally won the struggle, too.  They seemed to have been rusted in place and were practically impossibe to pull the lever out of the housing.  A day or two with penetrating oil freed the throttle, but did nothing for the choke.  The choke was a combination of oil, hammering, and fire.  I finally freed it up, but in I melted the glue holding the knob in place and it slid off.  So, technically speaking, I broke it in order to fix it.  However, the throttle cable is about 3 inches short (Bubba must have broken it) and I am currently trying to think of feasible ideas to grow it longer.  Nothing feasible has been thought of at this point in time.
Choke lever fixed...kind of.  The cable now slides freely up and down, but I need to mount the knob on the top!
Next up will be to finish off the wiring in the engine compartment AND THEN HERE COME THE FENDERS AND GRILL!  At that point, it will look like Towmater since I haven't cleaned up the hood...but not as rusty.