Now that I have the correct transmission crossmember cleaned, painted and installed, I was able to to go ahead and mount the transmission/transfer case...and amazingly, it fit nice and tight and SQUARE!
 |
| The T84 and T18 have landed...on the crossmember. May have well been the moon, though. |
 |
| Just another view... |
The trickiest part part (for me, anyhow) comes next. I needed to get the universal joints (4 of 'em) installed into the front and rear drive shafts. The drive shafts attach to the front and rear of the transfer case and connect to the front and rear axles...simply put, they spin around and make the wheels of the jeep spin round and round, round and round...according to the song that Nora sings.
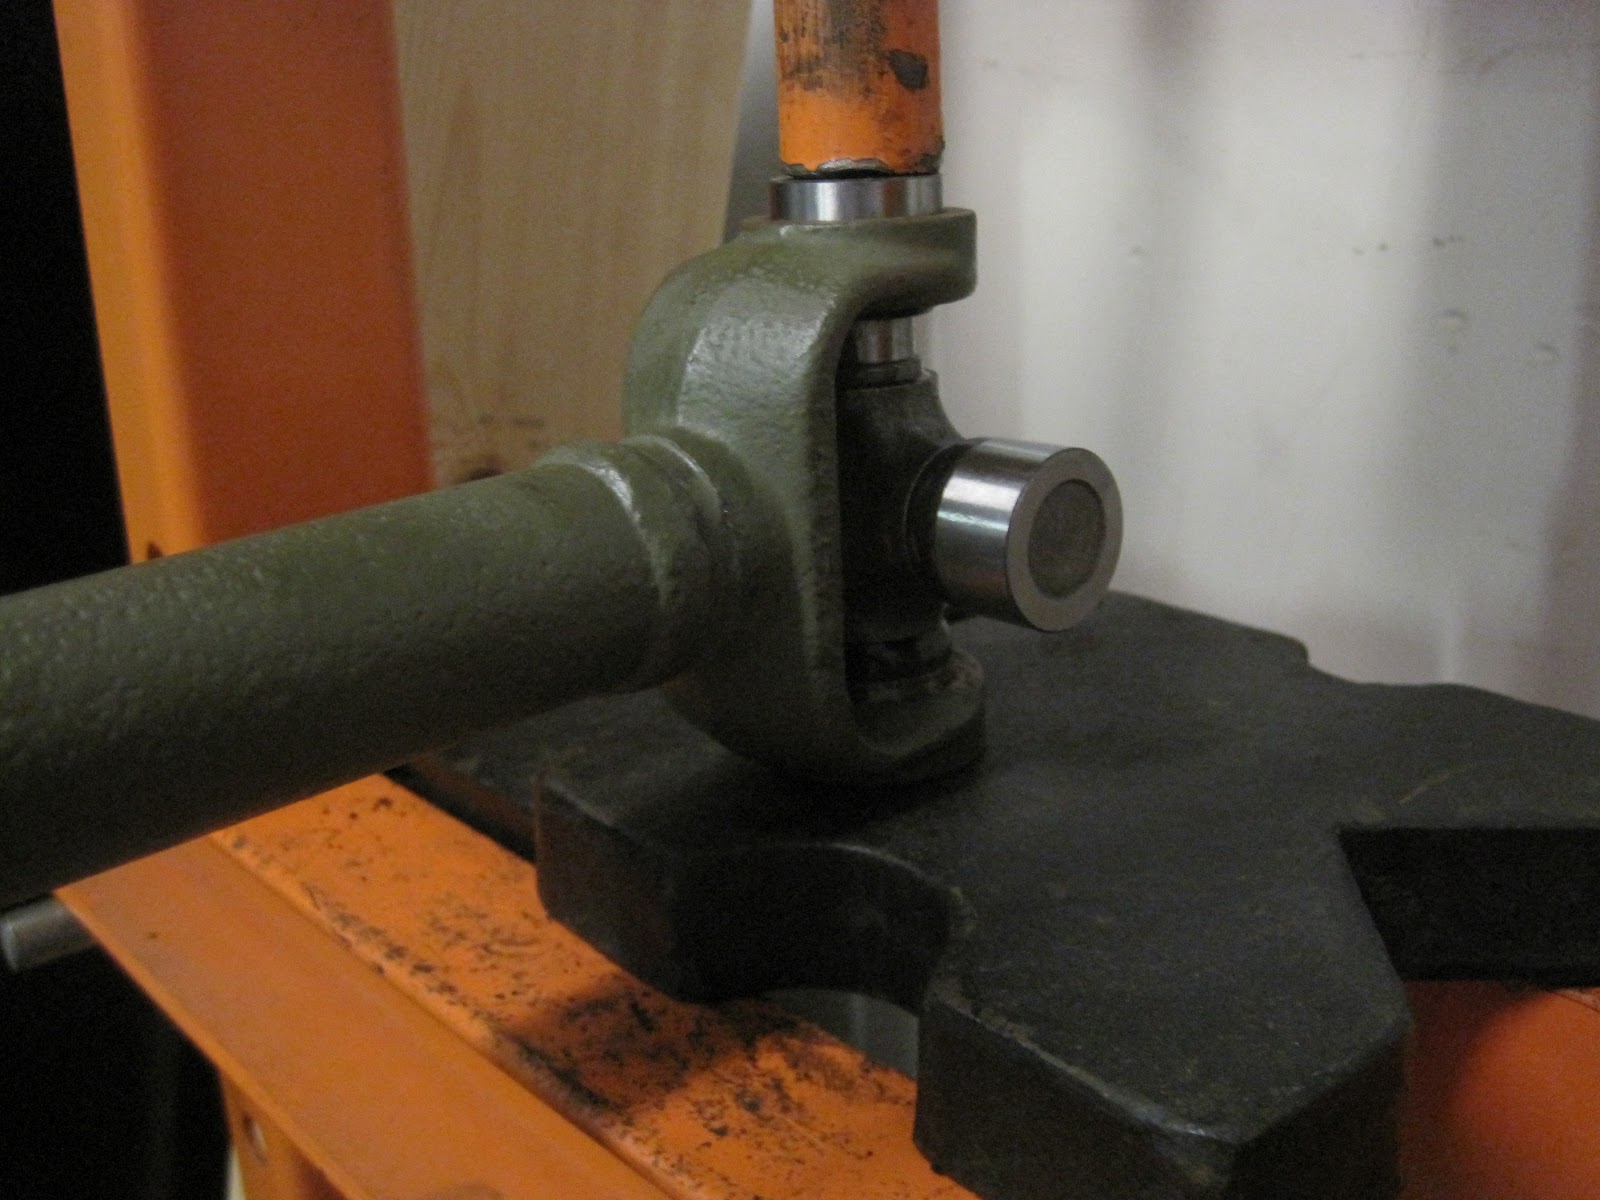
The U-joints needed to be slightly disassembled, then placed in the 12-ton press and have their caps squeezed back in place. A certain order had to be followed or else it wouldn't work. The U-joints kind of look like a "+" sign with caps on each point. Inside the caps are twenty or so little bearings that are only being held in place with grease. Mistakenly drop one, and you've got a mess...
 |
| Step 1: remove the north and south caps to finagle the bastard in place. |
 |
| Step 2: squeezing the northern cap in place while holding the U-joint steady so as not to let the bearings fall out of the cap. |
 |
| Step 3: flip it and do it again with the southern cap. |
 |
Step 4: installing the retaining clips on both caps.
There is a small channel that the clip with fit into once the caps are installed. |
 |
| Front shaft completed. The same will be done for the rear shaft. |
Previously, I had already cleaned and painted all of the parts to fit the brake and clutch pedals as well as the other smaller bits and pieces that are needed for the pedal systems to operate. In my head, I would spend a few days tinkering with these, but in the end it took less than an hour to install.
 |
| Pedals in place. Also note the drive shafts installed, too. |
Things were moving along somewhat quickly at this point. It was now time to begin working on the brake lines. Earlier in the week, I purchased a half of mile (just kidding, it was more like 20') of 3/16 steel tubing in varrious lengths. Some of them would have to be cut to specific lengths and all of them would have to be bent to some extent or another. The master cylinder was installed (not pictured, but it sits on the inside of the frame directly in front of the pedals) and the front and rear brake lines come out of it.
The rear line travels through the inside of the frame and makes a 90 degree bend into the crossmember with the machine gun mount. Here, it connects to a rubber hose that leads to a "T" junction mounted on the rear axle. Two lines come out of the "T" going to each rear wheel. The same process happens to the front axle, as well. Everything went according to the manual except the long line leading to the rear rubber hose. The manual indicates it needed to be a shade under 64" in length to reach the rubber hose. Without buying 25" of steel tubing and then having to double flare EVERY end, the longest bit of tube available was 60". Close, but craps. This happened to me when I did the brakes on the good jeep. In the end, I had to make up an additional line a few inches long to make the connection.
Some of the other lines had to be cut down in length. When doing so, the end of the tube needs to be flared so the connection will be tight and seal the brake fluid inside. The process is somewhat simple, but you do need tools specific to the job.
 |
On the left is the original front axle line. My new one is on the right.
I first bent my line so it would be as identical as possible to the original. |
 |
| Once satisfied with its shape, I cut it to proper length and then slid on the protective sheaths. |
 |
| Install the hardware and then flare the end. |
 |
| New brake line is just sitting in place...as is the old brake line for comparison. |
This was done for both the front and rear axles. In all, there are FOUR rubber hoses required to complete the lines. Well, some idiot in the supply room (me) who shall not be named(again, ME), FORGOT to order the fourth hose...so I wasn't actually able to complete the job! All in all, it isn't that big of a deal, but it is just another loose end that needs to be tidied up. Sure, I could buy one hose locally, but it costs twice as much (seriously) as it does from my online parts supplier. With shipping, it would still be cheaper! Since I know of more parts that I need, I am going to wait...but not patiently.
Next up, the Steering Gear Assembly.


No comments:
Post a Comment