Yesterday's goal was to get the passenger fender and grill installed and, if successful, I had a few other bolt-on parts that were ready to be secured into place.
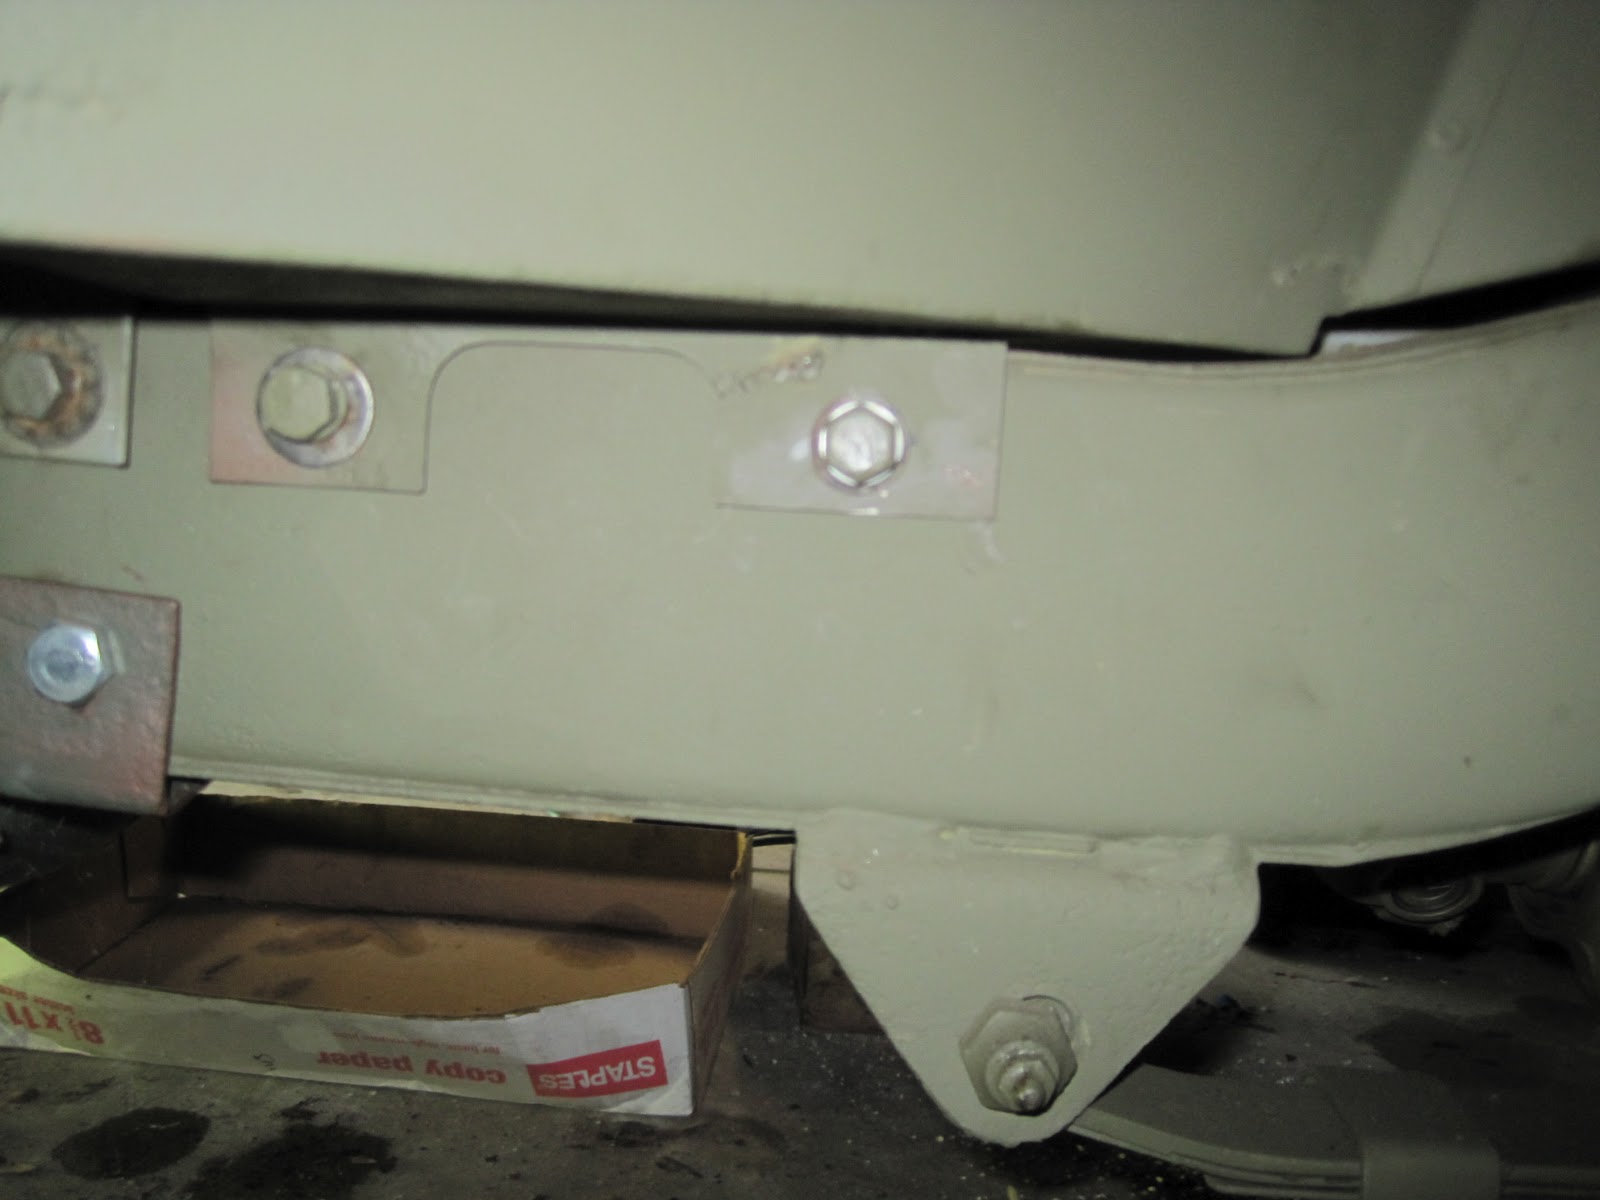
Again, with the passenger fender, I had to make and weld a new bottom mounting pad. This was done a long time ago, but I didn't drill the bolt hole because I wanted to wait for it to be mounted to the frame so I could drill the hole in the correct spot...just in case my measurements were a tad off.
To make my super precise, scientific measurements for the soon-to-be hole's location, I used painter's tape and criss-crossed it against the horizontal and vertical diameters. Then I secured the fender in place and drew an "X" to mark the spot where the center of the hole should be. Not quite perfect but the method did work.
I now could drill the hole.
X marks the spot. Dig here.
Mounted!
Fenders on! At this point, it gets a bit easier figuring out what the next step should be.
Subject's profile.
Phase I, COMPLETED.
Next step: The grill. I had some help on this one with Buzzsaw Jeff. Several months ago, I had cleaned, repaired and repainted the grill. Today, I needed to break out the old radiator felt strips and screw them in place. Jeff helped me line up the nine different bolt holes and secure the grill between the fenders in place. However, me being me, and not having the ability to exercise patience, I opted not to install my anti-squeak pads between the grill and the fenders since they were in the attic and the attic access was buried behind a mountain of tile that I probably should've been laying in the bathroom rather than "tinkering" in the garage.
This is the point where I realized that it is easier to install the black out lights BEFORE installing the grill.
After Buzzsaw took off, my mind started to stew over the lack of anti-squeak strips and then I realized how much easier it would have been to install the black-out driving lights when the grill was detached from the jeep. This is because the wiring travels across the inside, bottom section of the grill and gets clipped into place at a few different points...and my joints don't bend sufficiently to reach these clips, nor do I have a neck that can bend to see in there! So, an hour before dinner, I undid the grill, found my lights and put them in place and then moved the tile to get to my anti-squeak material (which, incidently I'm using roofing paper that shingles sit on).
Black out wiring secured in place.
The iconic jeep symbol is now in place! Please look past the temporary bumper.
This was what it looked like the day I brought it home.
As for the other "bolt-on" parts that were ready to go, I did clean up that nasty fuel filter, air filter brackets and the voltage regulator. Unfortunately, I haven't cleaned the housings for the headlights, yet.
Check out the inside of that bowl! What a difference from the last blog post.
For now, I am going with what is left of the original paint.
Getting closer! Note the long, white straightened coat hangar protruding out the driver's side.
That is attached to the end of the black out light wire. I needed it to pull the wire through the protective sheath.
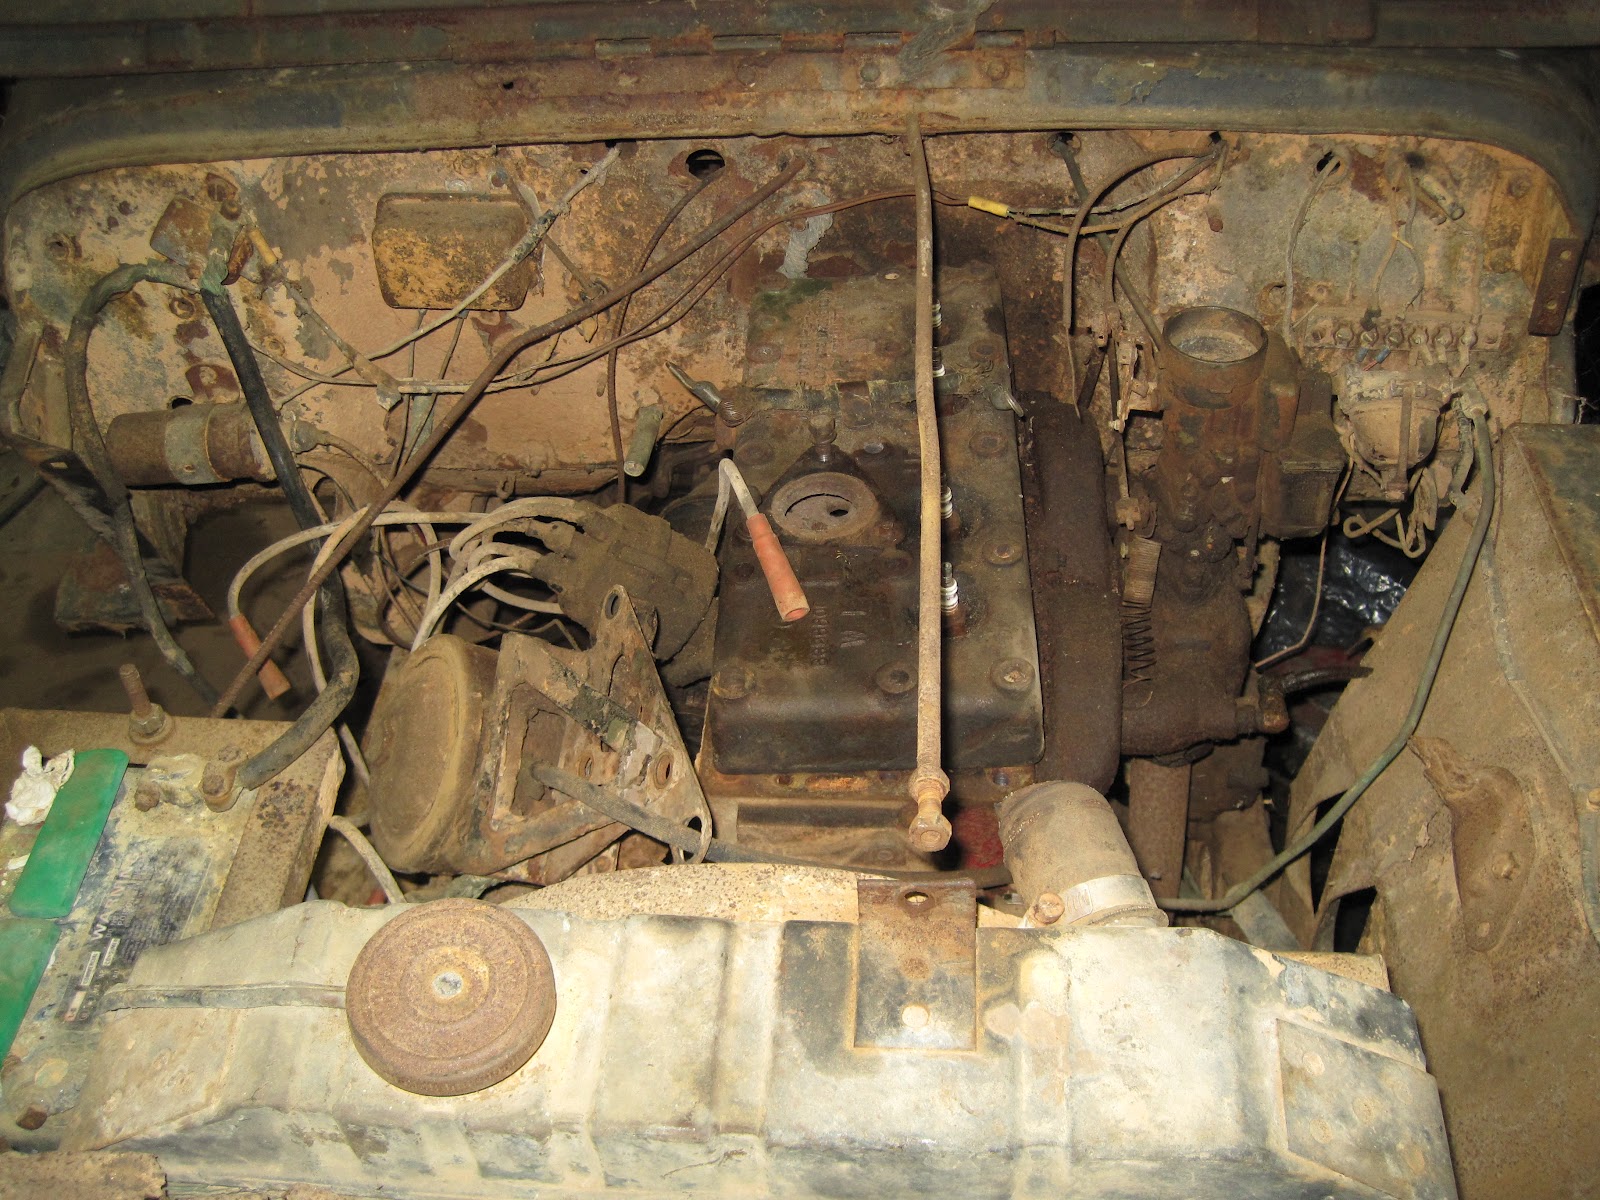
Here is a "throw back" picture for you. Label this BEFORE.
I don't know why, but in my head getting that grill on the jeep was a paramount achievement. Afterall, that is the look that defines a jeep, right?!
So I FINALLY got the darn "CHOKE" lever to work. I thought I had fixed it previously, but when I installed it, I quickly realized how wrong I was! The choke lever consists of a knob that sticks out of the dash. A long, thin wire runs through the dash, out the firewall and connects to butterfly valve that controls the amount of air that enters into the carburetor. A second tube-like wire is wrapped around the thin wire to protect it. It should act like a coat hangar that is run through a garden hose and the hose is in a stabilized position: the coat hangar moves freely through the hose. Well, my choke cable was somehow stuck to the outer protective tube and the entire tube moved when the lever was pulled. Hell, everything moved EXCEPT the butterfly valve!
I ended up using the combination of heat and penetrating oil followed by some gentle tapping with a hammer along the length of the tube, which was then followed up with using my hands to gently flex the tube and wire until I could feel it moving inside the protective tube. Yes, I massaged the heck out of that fellow! And now it works.
I then moved along and installed the Blackout Light Switch, the Push-Pull Switch, and the Ignition Switch. I also went ahead and adjusted the oil gauge and squared him up. For some reason that one was really bugging me. I also bolted in place the Master Cylinder inspection cover (circular plate below the steering column in the picture below) and the transmission cover.
Things are just falling into place now!
With all of those loose ends shored up and it only being 2:00AM in the morning (yep, I was obviously in a giddy mood), I was looking for something else to tinker with that didn't involve the grinder. I started rummaging through some parts boxes and found my air cleaner brackets, but they need to be cleaned and painted prior to installing, so that was a no-go.
At this point, the fuel filter that has been sitting on my work bench for who knows how many weeks (5 or 6?) caught my eye. I'd like to thank Jeff for showing me the innards of his fuel filter last week. He has now, unprecedentedly contributed to a jeep repair, now. Although I have studied the manual diagrams, I have never actually seen the original insides of the filter and how exactly they fit together. Now my brain finally processed the information and I thought of a somewhat logical plan. However, I was a bit reluctant to implement it out of fear of bending or breaking the delicate brass filter. In the end, it worked...but I have also been soaking the life out of it for 5 weeks with penetrating oil!
The pictures below are "recreated"; the actually event happened really fast and I didn't have my camera at the ready! Like my children's favorite Animaniacs song (You got me. I confess, its mine.), Wakkos Two Note Song, "Its just a squeezy on the pulley." The puller actually worked!
All I did was attach my small puller to the base of the internal filter. I used an old, broken nut to sit at the top of the bolt shaft for the puller to push against. I was amazed at how easily the filter slid upwards. I couldn't move it with my hands.
All that was in there was the brass filter, a spring (which was almost immovable until a good rubbing with steal wool got the crud off the shaft) and then lots of old, nasty fuel residue/varnish that needs to be thoroughly cleaned.
Next time you see this delight, it should be clean! I'm leaning towards not painting it since it looks like there is still a lot of original OD on the exterior. That will depend on how well I can clean it, though.
I really do not know why, but for whatever reason, I haven't been able to accomplish a whole lot on the Rustbucket Resto lately. Whenever the opportunity arises, I have been slowly plodding along getting the wiring harness installed.
Alhough the jeep is fairly basic in design, there still is quite the maze of wires that criss-cross back and forth behind the dash board. I'm sure that I will discover that I have gotten something backwards, and hopefully the result isn't a fire! That reason in itself is probably part of the answer to why I have been slowly plodding along...lots of checking, rechecking and double checking before and after installing!
The directions: follow this color-coded diagram and find the pot-o-gold at the end of the rainbow.
All roads seem to lead to the push-pull light switch (hanging to the left of the steering column).
And note that the Fuel and Amp gauge are boldly in place.
Yes, that is the wrong foot pedal!
The one fun repair I got to make was inside the Blackout Light switch.
The problem: the lever would not pull out and engage the connection.
Internally, the gauge is very similiar in design (except smaller) to the push-pull light switch.
The fix: soaked it briefly with penetrating oil.
It was then placed in a vice and then gently tapped with a hammer to loosen it.
Light switch assembled and then checked for continuity. This is the off (closed) position.
This would be the on (open) position and if the light was hooked up, it would be on!
All foot pedals installed and most of the wiring is completed under the dash. I just have yet to get around to screwing all of the knobs and such in place. Three of the five gauges are in, but my oil gauge is crooked (lower, left).
Add that to the punch list. Don't fret about the different greens not matching. I have plans to go back over over everything with another coat of paint once it is all together.
The other items that have been done (and completed very slowly!) were drilling out a couple of broken bolts that were inadvertently left in the tub. It would have been easier to drill them out BEFORE I slapped the tub on the frame, but I was so excited to get the two together that I had forgotten about them. Once drilled out, I could then get all of the bolts (14, I think) in place to mount the tub to the frame.
Next up, I have one gas line ready to install. This is the one that will travel behind the generator and across the front of the engine. I am jonesing to get the grill and fenders mounted, but I do need to remember to do a few items (like that gas line!) before mounting. By golly, it is easier if you do everything in a specific order!
And lastly, I have been battling the choke and throttle cables for three or four days now. I finally won the struggle, too. They seemed to have been rusted in place and were practically impossibe to pull the lever out of the housing. A day or two with penetrating oil freed the throttle, but did nothing for the choke. The choke was a combination of oil, hammering, and fire. I finally freed it up, but in I melted the glue holding the knob in place and it slid off. So, technically speaking, I broke it in order to fix it. However, the throttle cable is about 3 inches short (Bubba must have broken it) and I am currently trying to think of feasible ideas to grow it longer. Nothing feasible has been thought of at this point in time.
Choke lever fixed...kind of. The cable now slides freely up and down, but I need to mount the knob on the top!
Next up will be to finish off the wiring in the engine compartment AND THEN HERE COME THE FENDERS AND GRILL! At that point, it will look like Towmater since I haven't cleaned up the hood...but not as rusty.
I couldn't stand myself. Since I had the engine running this morning, there was no stopping me from positioning the tub back on the chassis. Its been maybe six, seven or eight months since I removed it. I justified doing it today in order to "free up all of that space" in the garage that a tub leaning on its side takes up in a garage. Jack helped me remove the tub all those months ago, so it was only natural that I request his services this afternoon to help the old man , once again. Besides, it got him out of having to take a nap.
Step 1: Move things around the garage so I could roll the tub into position. Step 2: Lower tub tub so it sits on four jack stands behind the chassis. Step 3 Rig up the straps so the crane can lift it. Step 4: Push chassis beneath suspended tub. Step 5: Push the chassis, lower the tub, push the chassis, lower the tub and do a lot of wiggling down the steering column.
A few precautions I took before hand: I had to remove the transmission shift lever, as well as the two transfer case levers, and I also place a rag at the top of the steering column in a vain effort to not have the tub scratch the column while it was lowered into its resting place.
Primed and ready to go...almost. I had the crane bar too far forward and the front end went up and the rear went down.
We had to lower it, reposition more towards the center of the tub and then lift away.
Airborne! So far, so good.
Coming in for the landing. This is where the lower, push, lower, push wiggle game begins.
Note the rag on the steering column.
A job well-done. Yes, the salute is a bit backwards. I think we do a lot of things backwards around here. However, I am really pleased at how safely and efficiently Jack and I did this endeavor.
All in all, not too shabby for an idiot savant and his six-year old son!
As a follow-up to the engine startup. I did find quite a few headbolts that were not tightened to the manual's specs. Maybe there is a chance after all!
I've taken a bit of time away from the Rustbucket Resto in order to make a fairly large repair to the good jeep. The transmission went kaput on the 4th of July. In order to make the repair, I had to remove the transmission from the jeep and do a part replacement from the its internals. The actual replacing part wasn't the difficult aspect, but instead it was all of the little things that had to be done in order to remove the transmission and then to reinstall it. In the end (knock on wood!) the repair went well and last I knew, everything was fully functioning. I was even able to drive it WITHOUT having to continueally hold second gear in place! I hope it lasts a long while.
So today, I was able to return my attention back to the Rustbucket. I had lost my momentum and had kind of forgotten where exactly I was in the rebuild process and what my next move would be. I decided this morning to go for the gusto and start that sucker up.
I pushed it out into the driveway. Although I wasn't expecting it to burst into flames, it was certainly a thought that lingered in the back areas of my mind. No sense burning the house down, right? The battery is on its last death throes. A new one will be in its future, but for now, I hooked up the battery charger to it to give it a bit more "juice" while cranking. I cleaned out the rubber gas line and spun the crank shaft for awhile so as to work the gas pump. Gas seemed to be moving through the line, albeit slowly. I ended up (not recommended) taking a huff from the hose to expedite the process. I spat the gas out and hooked it up to the carb. I also gave it a short squirt of starting fluid to "help" the old girl out.
I connected the lead from the coil to the battery and then began handcranking. And handcranking. And handcranking. You'll see in the video that I stop after a few cranks and adjust the carb. I opened up the choke butterfly just a touch in an effort to give it some more air. I was afraid of flooding the carb with gas at this point. I spun the hand crank a few more times and...
...she fired up! There was an awful lot of white smoke puffing frm the exhaust. One consideration is that I do not have the muffler attached. Number two consideration is that the guy I bought it from said that he had dumped A LOT of oil into the engine for safe storage. By the end of the running, I did notice that the smoke began to decrease dramatically. I'm not too worried about it right now. More of a concern was a little bit of seepage from the gasket below the head. I might try tightening the head bolts a bit and check for proper torquing. There might just be a new head gasket in this engine's future.
The other highlight of the startup was that the oil pressure gauge was reading between 20-25 lbs of pressure at idle. Good stuff.
Almost 25lbs of oil pressure. Not too shabby.
The only thing that I might address before putting the tub on the chassis will be to go back over the valve tappets. I thought the engine wounded fine, but the more I listened, the more it may have begun to sound like a typewriter. I figure it can't hurt any to at least double check the clearance. All in all, it was a successful start-up!
So it is Sunday. I spent all of the morning and into the early part of this afternoon at work. All I could daydream about was coming home and doing a little bit of relaxing in the garage while I attempt to "bleed" the brake lines of air bubbles. Well, long story short, it was nothing at all like relaxation, unless one finds relaxation in the intense humidity of a South Carolina summer and swimming in Dot 5 silicone brake fluid. Here is how I blundered my way through it.
ONE MAN BRAKE BLEEDING
Act I
I thought I would be clever and do a "solo" job on bleeding the brakes. I read a technique published by "Gindi" on G503.com on how to do this without the use of any special tools. Please note that this only works when installing new fluid throughout the lines. One should never reuse used brake fluid.
I went to Lowes and bought a 6' long piece of clear tubing from the plumbing section. I think it had an inner diameter of 1/4". I actually brought in one of my spare brake lines to test it. You connect one end of the tube onto the bleeder screw furthest from the master cylinder. In my case, it was the rear passenger wheel. Open up the bleeder screw and set the opposite end of the tube back into the master cylinder reservoir. Slowly pump the brakes and watch the fluid slide through. Keep an eye on the cylinder reservior making sure it never goes dry. Watch for air bubbles in the tube coming out of the bleeder screw. Once the air bubbles no longer come out and you see nothing but brake fluid in the tube, tighten the bleeder screw and proceed to the next furtherst bleeder screw. All the while, the new brake fluid continues to empty back into the master cylinder reservoir.
Easy peasy, especially with the tub off of the chassis. I had a clear view of all four bleeder screws.
The set-up: one end of the tube connected to the open bleeder screw
(in between the "s" tube to the inside of the tire)
and the other end of the tube in the master cylinder reservoir.
A close-up shot of tube on the bleeder screw. At this point, it is clear brake fluid without any air bubbles.
Thank you to Gindi for the advice on how to do this by myself and poo-poo to the old man at Lowes that said I was a fool for trying it. Well, I may be a fool, but it is because of other things. Remember, this "trick" should only be done when installing all new brake fluid. DO NOT DO IT WITH OLD, USED FLUID. Over time, brake fluid likes to collect water molecules, so the brake system needs to be flushed every few years or so. I went with the Dot 5 silicone because it supposedly resists the water molecules longer (so longer time between flushing) and it seems to be gentler on painted parts if it spills.
OK, so according to this blog, everything went smoothly. Well, ha-ha, the joke is on me. It did not go according to my plan. Here is where I went wrong and hopefully the next dumb joker that attempts this (which will be me, I am sure) will read these notes and avoid this one major pitfall:
TIGHTEN ALL BRAKE LINE CONNECTIONS!
AND THEN TIGHTEN THEM AGAIN!!
Act II
I would have bet (if I were a betting man) hefty sums of money that I had already confirmed and re-confirmed the tightening of all of the tube connections. Evidently, I hadn't because as I was slowly pumping my brakes, I saw puddle after puddle after puddle expanding on my garage floor! I was furious. (ask my wife when she popped out to ask a question!) Everywhere I looked there was dripping brake fluid. I seriously thought that I had made sure that I had tightened the brake lines some time ago. Even before I began to pour the fluid into the reservoir I thought to myself that I should re-check the connections. I talked myself out of it because I was that confident that I had already done it. Sabatoage maybe?
So, for an hour or so I crawled around in the puddles of fluid with my slippery wrenches trying to tighten all of the connections. The worse one was at the base of the master cylinder, itself. I had to remove the heat shield AND the steering column to adequately get to that one!
Knock on wood, I think it is done leaking. I have kitty litter spread across the floor soaking it up right now.
Now, this isn't the end all be all of all definitive tests, but the brake pedal offered a pretty stiff resistance when pressed and I couldn't roll the jeep manually. Now that doesn't say anything for the stopping power of a moving jeep at 45 MPH, but it does say something that if it is broken down and somebody is pushing me, I can stop it from rolling away!
Truthfully speaking, I am extremely excited to try and get the engine running, but at the same time I am fearful that it won't. Yeah, that makes no sense at all! I know.
My good jeep went out of commission on Wednesday afternoon, so I have been down in the dumps about that one, too. The transmission finally got stuck half in and half out of second gear. It has ALWAYS had issues with second (like so many other jeeps) and finally it crapped out. I singled the issue down to one of the synchronizer plates jumped out, thus not allowing any shifting to take place. It took me about a day to narrow it down to that. I have since decided now is the time to fix it (hopefully once and for all!) and new parts are now on the way. Although that jeep isn't a part of the "Rustbucket" collection, I may just write about that torturous experience later.
Back to today's events...
I have returned to the scene of a previous disappointment...the starter cranking motor. Previously, I haven't been able to get much, if any, action out of the THREE starters I have laying around. The biggest issue I have had with them is trying to figure out if they are 6 volts or 12 volts. I am setting this jeep up to be in its original 6 volt system, so Murphy's Law will determine them all to be 12 volt starters.
I am borrowing Jeff's Technical Manual 9-1825B Electrical Equipment (Autolite) to guide me throught the trouble shooting process, since my first attempt a few weeks ago ended in a bust.
Starter #1 and the trusty (original) TM 9-1825B
Here is how starter #1 went down:
I disassembled it (again) and performed a series of tests that were practically identical with how I troubleshooted the generator (Spinning Genny 1/4/12). I used the multimeter and checked for open lines and shorts in the case and the brushes on the top cover. Everything checked out perfectly. The internal brushes showed continuity to the positive screw connection; the same two brushes did not show a connection to the case; and the two insulated brush holders on the top cover showed no connection to the cover; and finally the two unisulated brushes showed continuity. All is well.
I then measured the tension on the springs that hold the brushes against the commutator. The manual says new springs should read between 42-53 ounces. I came up with about 24. I replaced them with my old springs from the good jeep. They registered around 36 ounces. That was better and should be fine for awhile.
Checking the tension on the replacement spring. The reading is taken at the moment the spring allows the brush to be removed from the commutator. New springs register between 42-53 ounces of tension, used springs should be slightly less. This used replacement appears to be around 36 ounces. This isn't great, but better than the 24 ounces I had on the others.
I then went through the armature (picture down below) and the commutator looking for shorts and none appeared. Great. It looks perfect. Lets put it back together and make it spin. I do it and all I get is a spark or two. Hmmm. I thought that perhaps I put the brushes in the the wrong holders. No, I was correct in the install.
That is when I saw my rookie mistake! It was the exact same problem that got me when I fixed David's generator: some of the insulation for one of the internal coil wires had been rubbed away, thus exposing some of the copper wire to the case. This created a short. I did not discover it when I checked with the multimeter because the wires were not connected to the brush holders. Instead they were free and pointing upright. When they are attached, they get crooked and cramped inside the case and this is when the exposed copper wire would short out against the case! Bingo.
The exposed wire is shown. It directly above the bottom of the rectangle opening. When fitted into place, the exposed section would contact the internal metal of the case and cause a short. I wrapped it up with friction tape.
I reassembled it all and tested it. I got nothing against the battery charger at 6 volts. However, when I switched it to 12 volts, it spun quite powerfully. Now I'm thinking "Darn- IT IS A 12 VOLT STARTER!" It is fixed, but I can't use it. I set it aside and move on to the next one.
Starter #2:
The next one had its own set of issues. It looks to be in fine shape, though. On the exterior of the case, it is stamped "REBUILT 4-23-86". Internally, it looks GREAT! Everything seems clean and all of the wires look secured. Why the hell won't it work?? I went through all of the prescribed tests and everything checked out. However, when I reassembled it, it would not spin at all-neither manually by hand or hooked up to a battery. Upon a closer examination, I discovered that one of the bolts that attaches the Bendix Drive to the end of the shaft was a bit large. As a matter of fact, it was so large that it would bind in the interior of the casing. A-HA! No wonder it won't spin: there isn't enough room for the bolt in there. Well played, sir, whoever you might be that rebuilt this starter back in '86!
I didn't have a spare bolt to fit, so I removed the oversized felon and grinded it down a bit on the bench grinder. It seems like I took a lot off the top of it, but it still wouldn't fit properly inside the case. I decided that since the Bendix is the wrong kind for my flywheel (and I have the proper sized one on order), I would remove it, assemble the starter and then test it to see if I can at least make it spin.
Wrong Bendix Drive with the massively oversized bolt that would bind inside the case.
Oversized nut is on the upper right, just in case you don't see it.
Well, when it was hooked up to the power source, I got nothing. Well, almost nothing. It, too, would spin decently with 12 volts from a battery charger, but at six volts, it was quite dead. Or was it? It was moving, but barely. Now that made me think: Can a 6 volt battery make a 12 volt starter move...at all? Probably not. So, perhaps this is a six volt starter.
I disconnected it and tried turning it by hand. It felt tight. Perhaps when it was rebuilt, the four internal coils were not screwed in far enough into the case, thus they are sitcking out a millimeter too far and creating the resistance to turning? It is a possible thought. I tried tightening the four screws to the coils, but it was a fruitless endeavor. I kind of anticipated that before I attempted. Those screws will not budge. Next, I diassembled the starter.
I wish I had taken a picture at what I had found, but I didn't. When I pulled the armature out, it looked like there was a build up of some sort of sticky dirt/grease substance all around it. I took some fine sandpaper and went around it, making it look quite shiny. Hoping against hope, I hoped that I had removed enough "stuff" to free up the spinning action. I reassembled it and tried it manually with my hand. It did seem to spin easier, or maybe that was just my hope being hopeful.
Just so you know what the heck I am referring to, this is an armature. However, it is not THE armature I am working on. After I cleaned up the correct armature, I assembled it. And then I thought, "Man, I shouldn've taken a picture." This is another one that is sitting on the workbench. The area that I sanded are the many horizontal silver rectangles along the fat part of the piece.
This is the aftermath of my sanding. The sandpaper was new and all of the black funk came off of the armature.
I hooked the starter up to the battery charger and it really didn't do anything at all. I switched it over to 12 volts and it spun faster than the other one! I then read online that battery chargers sometimes do not deliver enough amps to make it spin and that it will often appear that it has a short. I took a pair of cables and attached the starter to my 6-volt battery and...
...IT WORKED ON 6-VOLTS! Now, I need to get that new Bendix...